BackyardRC
A practical approach to RC planes
Category Archives: BackyardRC
So much to share!
Posted by on October 1, 2013

New Warbird Foamies!
Hello Everyone,
It has been a few weeks since our last post and boy have we have got a lot to share! Where to begin.

BackyardRC Tricopter Build
The BackyardRC Tricopter is well underway. All of the parts have been designed in Solidworks, some have been printed, building has begun, and some parts are now in redesign phase. With any luck (and a ton of printer time) I’ll have the tri fully built in a few more weekends.

FT-Racer Kit
This past weekend I got my first FliteTest Kit assembled, trimmed, flown, crashed, and repaired. In the next few days I’ll have a post all about my experience with their FT-Racer kit. The guys over there are doing wonders for the hobby and I have nothing but good things to say.

P51-D Foamie Build
I also found some time to build a foamie P51-P. I’ve always loved this plane and I can’t wait to fly it. I have just a bit more building before the first flight.
Stay tuned as we have a ton more to share.
Up Coming Projects
Posted by on September 11, 2013
Hello everyone! I just wanted to share a quick update on some up coming projects. We have a couple of exciting things in the works! SO on to the updates:

BackyardRC Quadcopter
BackyardRC Quad
A few weeks ago I started build the BackradRC Quadcopter. We printed printed all the parts and build the basic structure. We got it off the ground briefly but since then an ESC fried (human error). Well the new part arrived and we are ready for more flights!

RC Explorer Tri v2.5
BackyardRC Tricopter
All the parts have been ordered for our first attempt at building a tricopter with the sole purpose of FPV. Based on the work done by RCExplorer we hope to have the base tri built by the end of the month.

FliteTest’s take on Pixar’s Plane character Slinger
FlitTest Slinger Build
Today FliteTest started selling their ft-slinger speed build kit and BackyardRC picked one up instantly. We have bug plans for this guy… starting with the standard custom 3D printed parts (motor mounts, landing gear, and so on). We also have plans to push this little foam warbird to the limit. STay tuned for out FT-Sling Build post!!
FliteTest Baby Blender with 3D Printed Landing Gear
Posted by on September 3, 2013

Baby Blender Landing Gear
This past week I designed and printed a simple set of front landing gear for my FliteTest baby blender scratch build.

1/2 way there
Nothing can top 3D printing when you want to create complex geometry. Each side of the gear is designed with a 3 tapered legs intersecting on an axel hub.

Finished!
The highest point of each support is 1/4 of an inch in diameter and expands to 1/3 of an inch near the hub. The center supports cross and interlace for extra lateral strength. This design includes a cutout to fit around the 9 gram aileron servo.

Glued On
The gear is attached using simple hot glue to the bottom of the wing. Take time to ensure the ear is square to your wings. Any misalignment here will lear to a plane that taxies to one side or another.
Also note this is most likely going to be the weak point. On hard hits the paper might give way but for now it is solid and stable.

Wheels On
All I had in the shop were a set of small wheels but they do the job just fine. Someday down the road I’ll get a larger set. I used a insulation wire supports for the axel. They are cheap, easy to find at any big box hardware store and plenty rugged for this light plane.

Finished Product
If I had to do it again I would push the wheels a bit wider giving the gear a more angular look. I might also make them a bit shorter. With this configuration the rudder drags on the ground.
As always the print files can be found on Thingiverse. Please comment below and let us know what you think.
Next up is to design a rear steerable wheel mount and make this a true tail dragger!
Technical Drawing:

Standard Measurements

Metric Measurements
I am a backyard engineer
Posted by on September 2, 2013

odds & ends
Engineering allows me to take something conceptual, transform to visuals, print to tangibles, and finally build into useful objects. I often find myself mid build, mentally piecing together things and realize the standard options just don’t meet my level of individualism and dare I say it: flare. I look and look for bits and pieces to fit the build but I’m left designing the ideal solution in my head. And that is where my engineering process begins. With a little necessity, a bunch of function, and a bit of personal touch I find myself creating one off custom DIY parts.

Quad mount v 2.0
The tools of my trade have been gathered and refined over many builds, years, and failures. They include everything from the pen/paper and hand tools to the complex like CAD programs, 3D printers, and laser cutters. I am a jack of many trades but a master of none. Constantly increasing the tool set at hand. I have little formal training but a deep love for hands on learning and the confidence to try until I break it. Then I have the patience to fix it.

Laser cut wing set
In short I love to create something useful and cool from nothing. For this I am a backyard engineer at heart.
If you have a desire to design, create, and build, I encourage you too to become a backyard engineer. Soak in as many skills as you can. Acquire, borrow, or build and engineers tool set. And have fun learning as you build.
Baby Blender Motor Mount Update!
Posted by on August 29, 2013

Technical Drawing Standard Units
I have a quick update for everyone. The technical drawings for the BackyardRC Motor Mount for the Flitetest Baby Blender have been uploaded and posted on thingivers.com and FliteTest.com.
These drawings include all the major dimensions. Please let us know what you think. Follow us on FliteTest, Thingiverse, YouTube, and here on our blog!
Thanks!
-Miles
Technical Drawing for Quadcopter Motor Mount
Posted by on August 29, 2013

Technical drawing (imperial units)
Last night I finished a bit of documentation around the BackyardRC Quadcopter Motor Mount. The technical drawing has been added to the Thingiverse listing and is posted above. Hope this helps everyone out with any dimension questions.
Metric version here.
Please let us know what you think!
-Miles
Anti-vibration to the rescue
Posted by on August 26, 2013
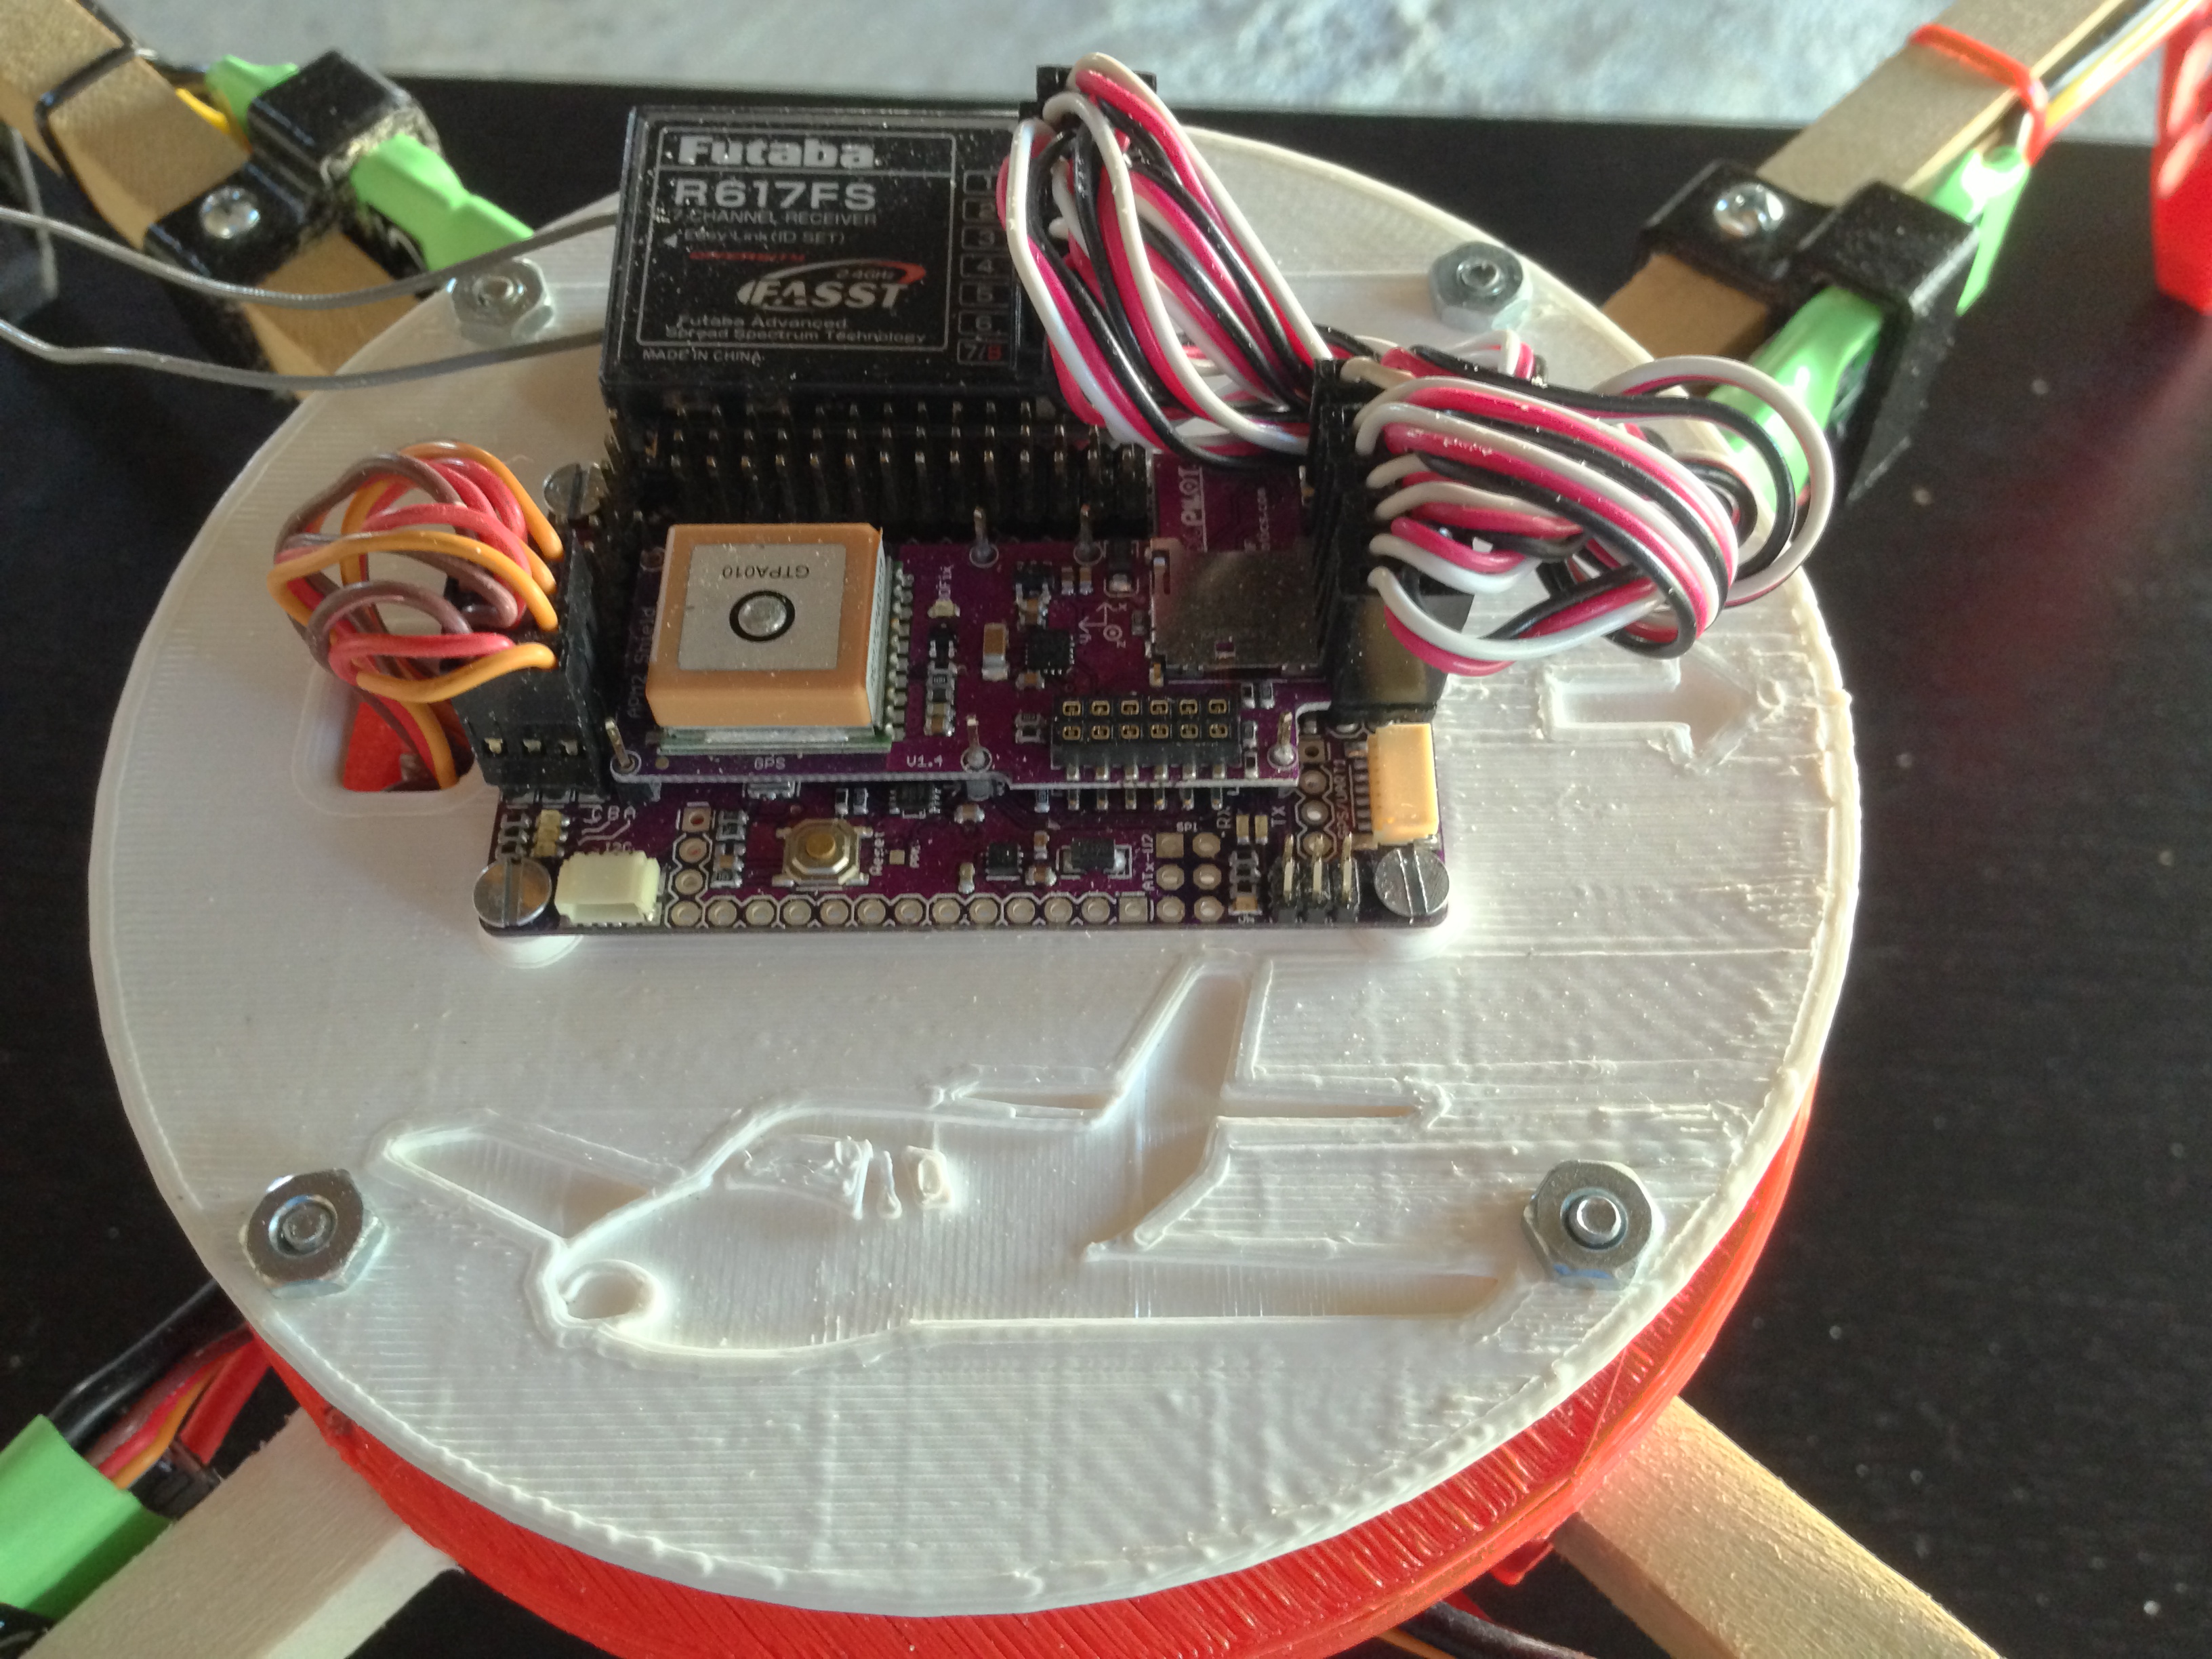
Solid mounted ardupilot
Saturday I took some time to modify the top plate for the 3D printed BackyardRC Quadcopter. In the original design the ardupilot was mounted solidly. With this setup the motor vibrations almost made the ardupilot useless.

Super high tech anti-vibration apparatus
So it was time to modify the build with anti-vibration in mind. So I looked for the most high tech solution I could think of. Ear plugs.

All mounted up!
I had to drill out the stock holes to fit the compressed plugs. The finial product looks pretty good but will need some testing. More to come on that soon.
Checkout the rest of the build here:
And all of the parts are free to download on thingiverse:
A wise man designs twice and prints once
-Miles
Biplane Motor Mount
Posted by on August 25, 2013

FliteTest’s Baby Blender
Inspiration struck me today. I was in the shop tinkering on a few different projects when my focus landed on an old foam biplane project I had started last year.

It’s design is build on FilteTest’s Baby Blender plans.Now if you are not familiar with the guys over at flitetest I highly recommend you head over to their page, checkout the web show they’ve created, and contribute to their site. The time and effort they put into the hobby is amazing and the community they have built shows it. While you’re there you can pickup a speed build kit of the baby blender. It’s cheap and cuts a ton of time out of the build time,
Flite test’s design used something they call a power pod, which is basically a removable center section that houses your motor, esc, RX, and battery. This pod can be reused in all of their swapables line of scratch build foam planes.

BackyardRC Baby Blender Motor Mount v1.0
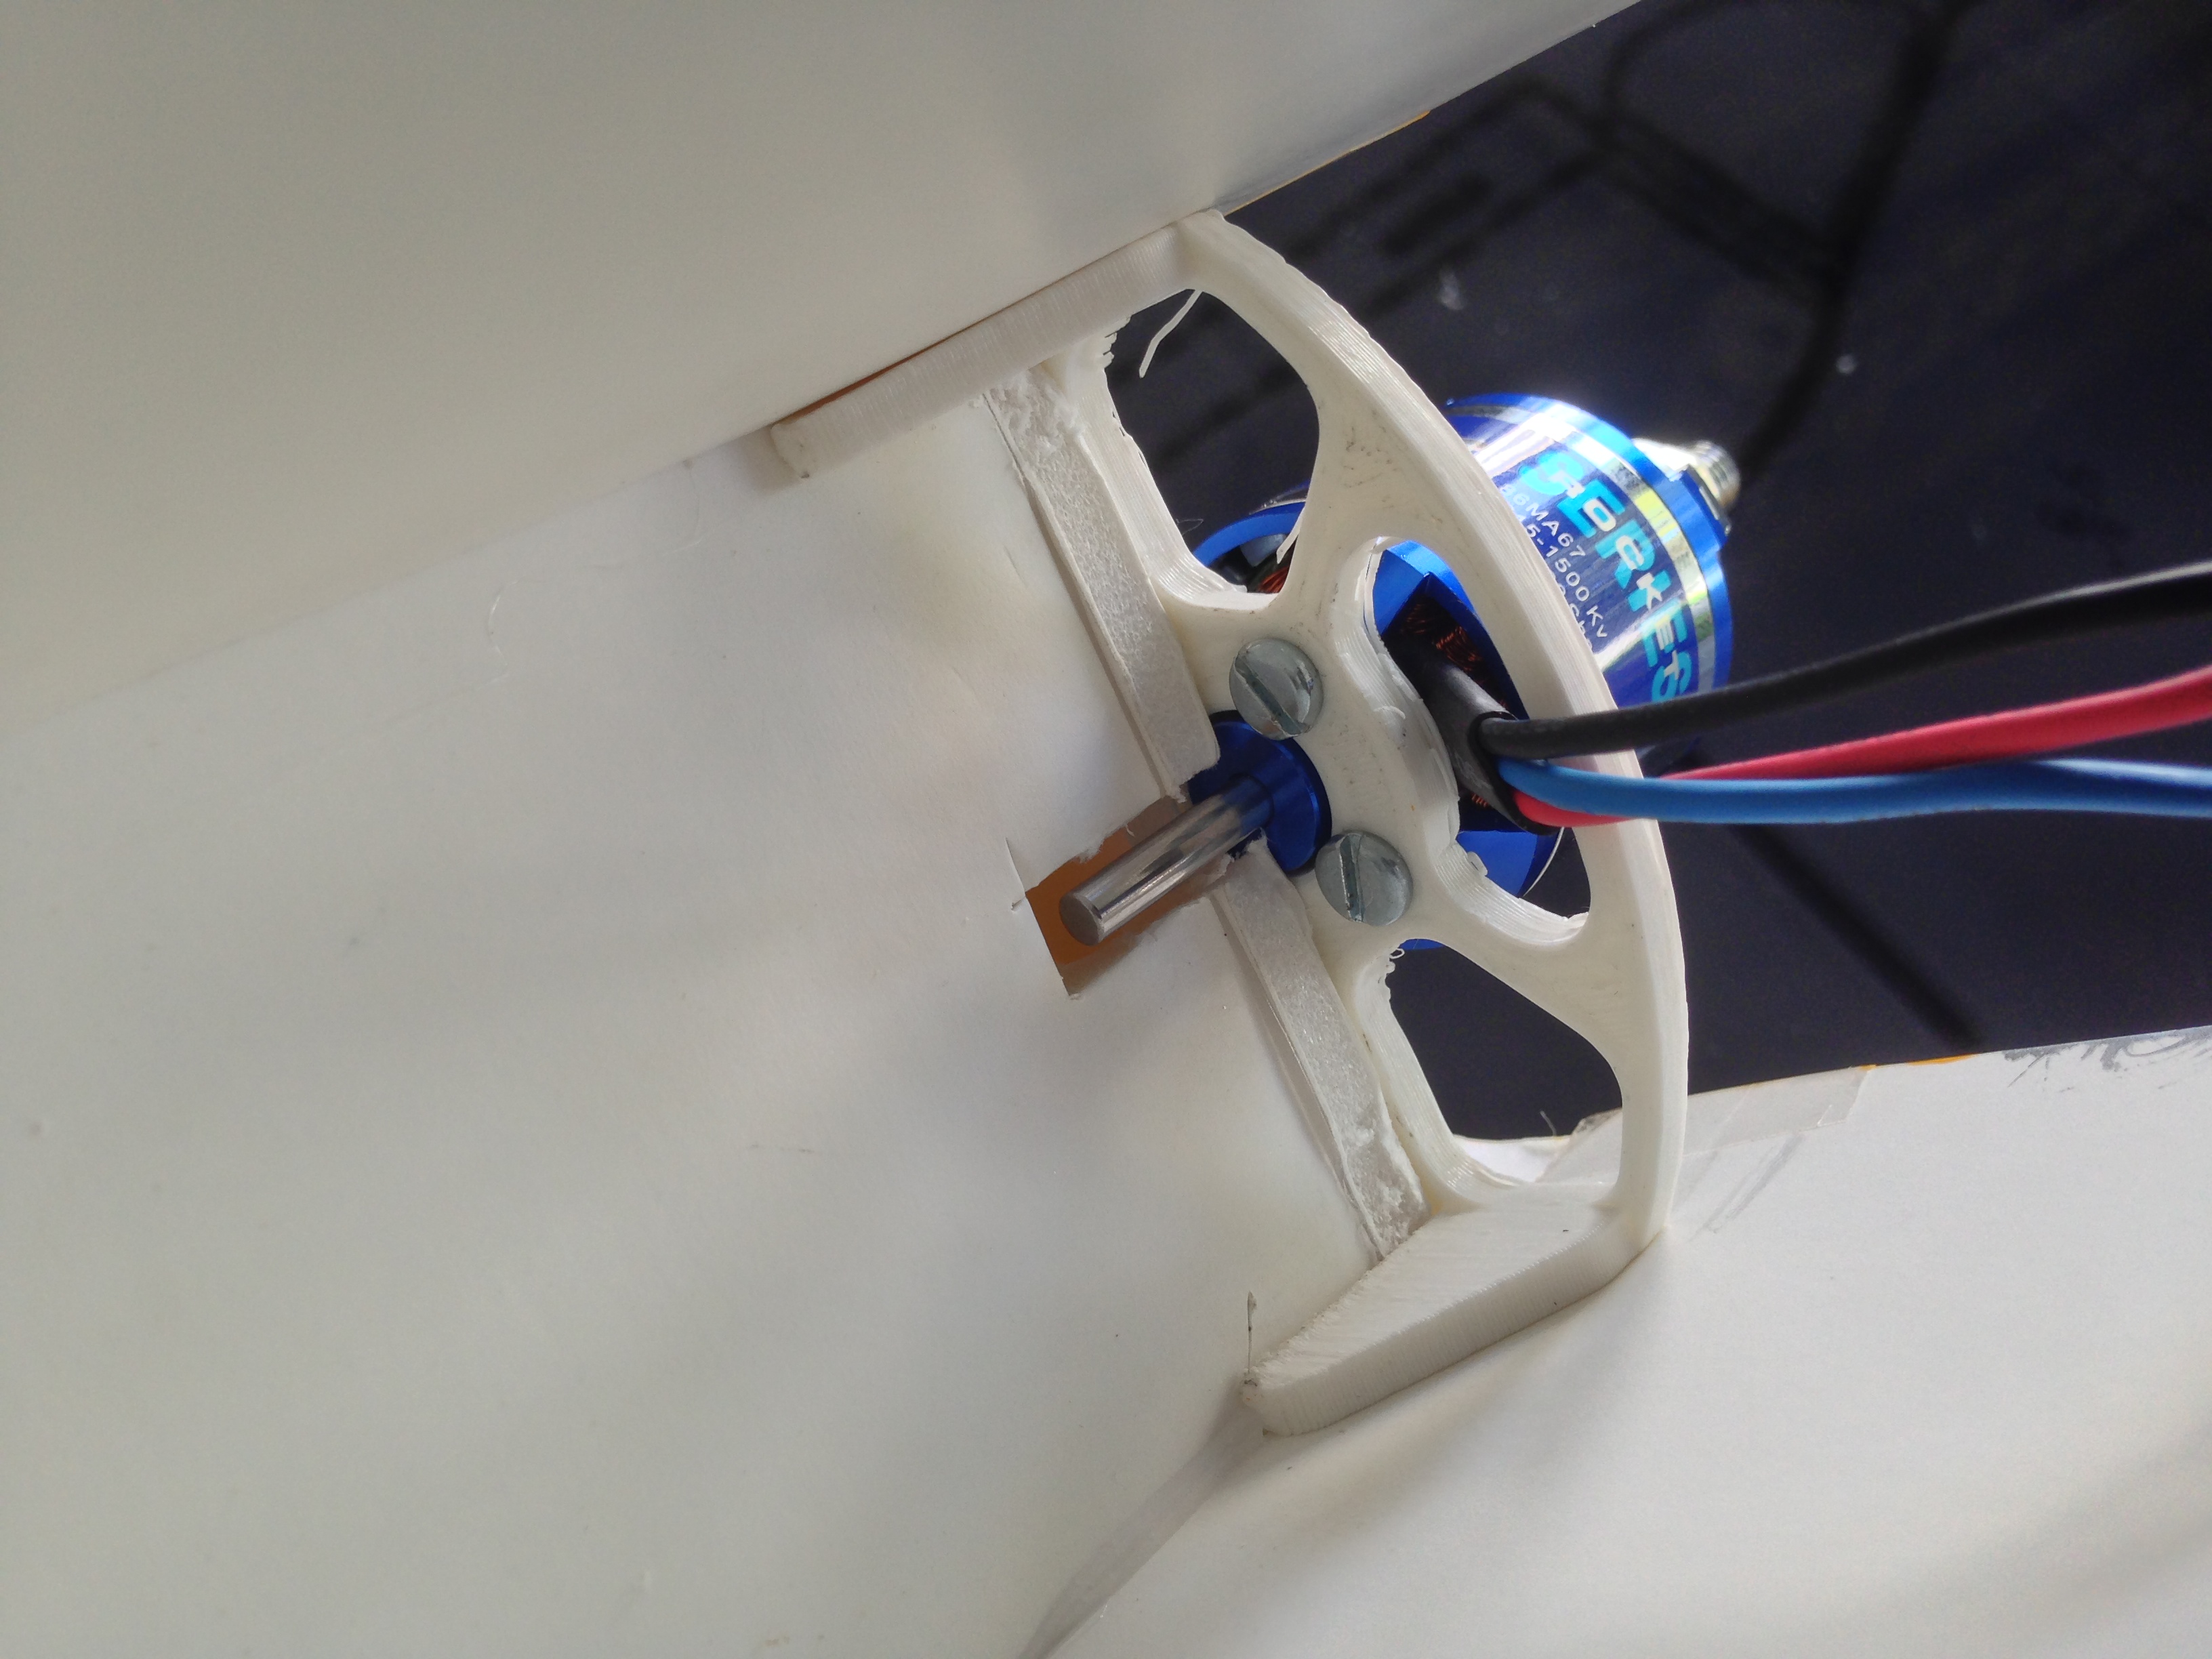
But in typical BackyardRC fashion I didn’t stick with the plans directly. Last summer I downloaded and built the airframe back in the New York apartment but never got around to wiring or mounting the motor. Today with the 3D printer by my side I set out to build a simple motor mount around HobbyPartz ExceedRC 2200 series motors I have grown to love.

Baby Blender meet ExceedRC Motor
The design is simple, light, and strong, With the common 8mm off center 3mm bolt pattern any of the 2220 series motors will bolt right up to it.

all bolted up!
The stock bolts for the motor mount were a tad too short so I substituted for 3mm by 5 mm in length pan head bolts from the local hardware store.
Horizontal supports
Removing a small section of foam for the motor shaft and the mount fits right in. Horizontal tabs increase the overall strength.

All glued in
The only really downfall that is immediately evident to this design is that the top two motor bolts are glued in and the whole mount will need to be removed to access.
With the motor mount completed and installed I’m almost ready to fly. This evening I am planning to design a custom landing gear setup to print tomorrow evening.
If you like this mount you can download it over at thingiverse.
As always please comment and let me know what you think.
-Miles
UPDATE: Today I completed a technical drawing highlighting key dimensions:

Technical Drawing
Build your own BackyardRC Quadcopter! Parts on Thinkiverse for free download!!
Posted by on August 19, 2013

BackyardRC Quad on Thingiverse!
Today I uploaded all of the quadcopter parts used in the BackyardRC quad build to Thingiverse.com. Now you too can download and build your own BackyardRC quadcopter! Please download, print, fly, video, and comment on the parts. We’d love to hear your feedback!
-Miles
August 8th Recap
Posted by on August 18, 2013
I finally got to edit and upload the flight footage from last weekend. Most of the footage is of my favorite F22 foamie. It’s a great cheap, powerful, and nimble plane. If you like it check out the build posts:
Hope you enjoy!
-Miles

Recent Comments